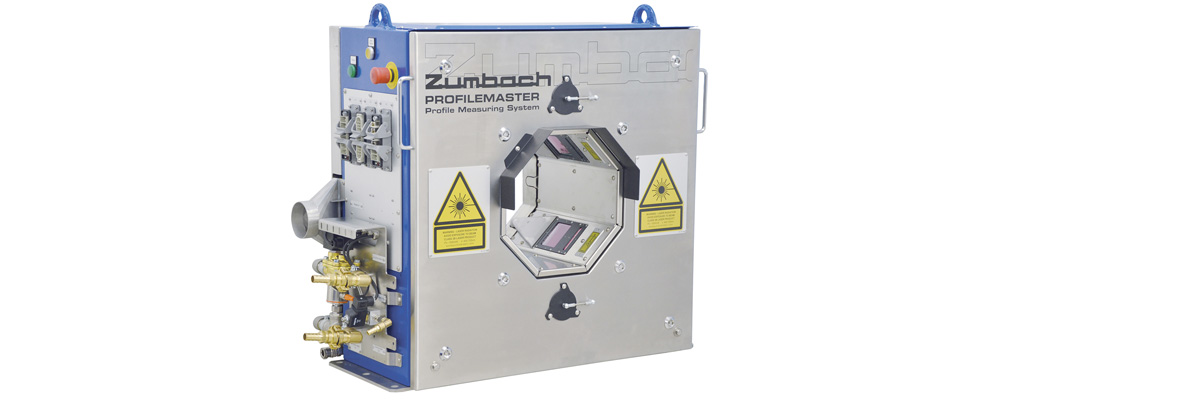
In-line Complex Profile Measurement and Monitoring, PROFILEMASTER® Systems from ZUMBACH
As a pioneer of on-line measurement committed to extensive research and development activities, ZUMBACH Electronics has continuously grown as one of the world-wide leading manufacturers of in-line measuring and control systems. Top priority at ZUMBACH Electronics remains to be customer relationships through local presence combined with proven high-quality products, services, personal consulting and support. ZUMBACH’s PROFILEMASTER® systems are developed from a core set of proprietary mega pixel camera/laser modules and software technologies. The application of these technologies has been adapted to serve specific measurement, monitoring and surface flaw detection needs for; extruded plastic and rubber tubes, hoses, profiles, wire and cable, wood, plastic composites, steel rod, bar, profiles and much more.
Depending on the customer application and product dimension, ZUMBACH offers a full range of PROFILEMASTER® gauges, including models for small precision profiles starting from a dimension of 0.5 mm (.02 in.), cold formed tubes and profiles as well as medium size products, hot or cold, up to dimensions of 600 mm (23.6 in.)
PROFILEMASTER® systems are available with 1 up to 8 laser/camera modules measuring continuously the cross section of the moving profile. A powerful PC-based processor combines the captured line images of the individual cameras to yield the momentary cross-section of the profile. All relevant dimensions such as width, height, angle and radius or other geometric quantities are computed to characterize the full cross-sectional picture. An operator-friendly graphic display of this data allows the product to be monitored during the production. The nominal values for the profile can be directly imported from CAD design files, which allows easy and problem free configuration of the device. Changes in speed and twist within normal limits have no influence on the measurement precision.
Customer Benefits / Main Features
- Provides 100% inspection in real time
- Reduces start-up time
- Increases the repeatability and precision of your end product
- Improves process control
- Reduces scrap
- Saves raw material and post processing costs
- Detects process problems at an early stage
- Integrates in a seamless way to your network or higher-level systems
- Simple cleaning requirements, giving short maintenance needs
- Logging of all production data for QC department
- Makes post production measurements irrelevant
- Surface fault detection (SFD) thanks to high sampling rate
- Compilation of a 3D model thanks to high sampling rate
- Reliable operation in harsh conditions, product temperatures up to 1200° C
