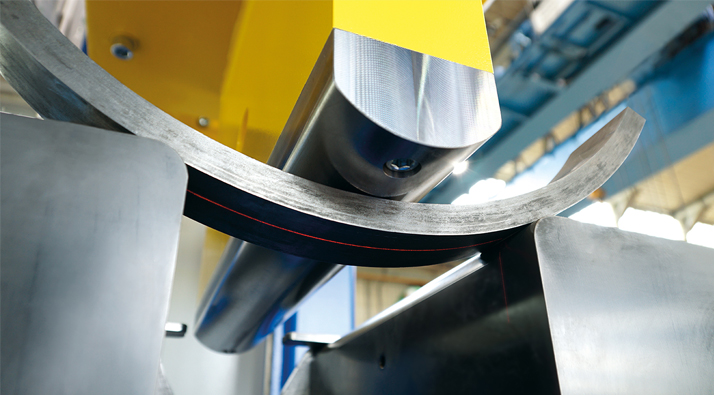
RadiiPro®: Electronic radius measurement system for pipe bending presses in real time.
Innovative cooperation between the companies fabforce® and Graebener®.
Netphen. To this day in large pipe manufacturing, the production large-diameter pipes in a step-by-step process is set up and monitored manually using templates. This is time-consuming and requires well-trained machine operators. fabforce®, in cooperation with Graebener®, has now developed a radius measurement system that allows the radius to be checked conveniently, safely and precisely via a monitor. In addition to this, the system offers insights into the material behavior of the pipe. An important milestone on the way to a fully automated bending process.
Since the beginning of large-diameter pipe production, it has been common practice to check the individual steps in the bending process using a template. In other words, the operator interrupts the bending process at regular intervals and measures the result using an analog template which he places on the partially bent pipe. For this purpose, the machine must be switched to safe mode and the operator has to leave his operator desk. During all this time, the machine is not working productively. Therefore, the time exposure and the costs of manual measuring are quite significant. The industry has long been striving for an uncomplicated and cost-effective solution. fabforce®, a company specializing in Industry 4.0 applications, has taken up the issue and, in cooperation with Graebener®, a special machine manufacturer with a 100-year tradition, has developed a digital template that paves the way to a fully automated pipe bending process in the medium term.
The RadiiPro® radius measurement system uses a laser system that transfers the contour in the bending process to the operator's screen in real time. The trick: the measurement system is located in the lower tool and can therefore measure live during the entire bending process, even under load. At the same time, the software compares the bending of the contour with the desired target radius and calculates the contour deviations. This way, the forming differences without load and under load can be seen. The result is displayed precisely and objectively within milliseconds on a screen in the operating panel. For this reason, non-productive times of manual measuring as well as possible misinterpretations when placing the template are avoided. In addition to this, the information obtained can be saved for each pipe, enabling transparent quality management right up to the final product.
But the RadiiPro® application has even more to offer: the calculation of the local curvature of the contour. A characteristic value with considerable potential. This value offers the advantage that the degree of current deformation can be displayed with high precision even on very small measuring sections. This way it can be seen in minute detail which areas are actually formed and in what way. The operator gains information about the optimum bending step width, the correct tolerance values and the evenness of the pipe.
Incidentally, the data of the curvature also allow a multitude of further conclusions, e. g: Does the steel mill supply the correct quality? How can the workpiece properties be ideally reacted to in subsequent processes? Does the quality vary within the component or batch and, if so, within which tolerances?
