Page 39 - ITAtube Journal 2 2022
P. 39
In the area of extrusion, SIKORA presented the CENTERWAVE 6000/250 for the meas- urement of tubes in the diameter range from 32 to 250 mm during production based on millimeter wave technology. All dimensions of the tube, such as the diame- ter and the wall thickness, are determined and visualized in real time over 360 de- grees of the pipe circumference. The meas- urement data obtained enables automatic control of the minimum wall thickness, taking into account the standard deviation of the extrusion line. This allows potential savings to be exploited to the maximum.
In the line, the system enables gapless, reliable quality control as well as automatic control. The model is characterized by its simple operation. At the push of a button, the operator immediately receives continu- ous and precise measured values, without presetting the product parameters, with- out the influence of a coupling medium and without any calibration. The exhibited CENTERWAVE is only one model out of a comprehensive product family offered by SIKORA for the measurement of different product diameters from 32 to 3,200 mm.
Measurement of tubes and hoses by means of X-ray technology for single-layer and multi-layer applications.
For more than 30 years SIKORA has been offering X-ray technologies for quality con-
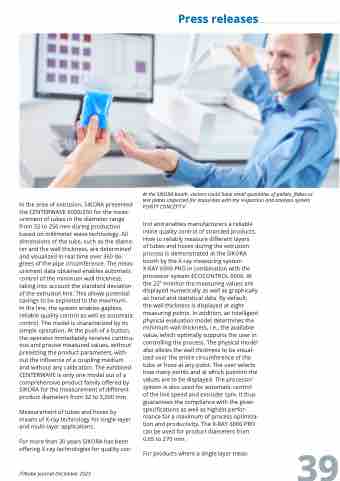
At the SIKORA booth, visitors could have small quantities of pellets, flakes or test plates inspected for impurities with the inspection and analysis system PURITY CONCEPT V.
trol and enables manufacturers a reliable inline quality control of stranded products. How to reliably measure different layers
of tubes and hoses during the extrusion process is demonstrated at the SIKORA booth by the X-ray measuring system X-RAY 6000 PRO in combination with the processor system ECOCONTROL 6000. At the 22” monitor the measuring values are displayed numerically as well as graphically as trend and statistical data. By default,
the wall thickness is displayed at eight measuring points. In addition, an intelligent physical evaluation model determines the minimum wall thickness, i.e., the available value, which optimally supports the user in controlling the process. The physical model also allows the wall thickness to be visual- ized over the entire circumference of the tube or hose at any point. The user selects how many points and at which position the values are to be displayed. The processor system is also used for automatic control of the line speed and extruder rpm. It thus guarantees the compliance with the given specifications as well as highest perfor- mance for a maximum of process optimiza- tion and productivity. The X-RAY 6000 PRO can be used for product diameters from 0.65 to 270 mm.
ITAtube Journal December 2023
Press releases
  For products where a single layer meas-
39


