Zumbach - (Self)compensation of Measuring Units Increases Accuracy of Measurements
Calibration in measurement technology means characterizing the measurement behaviour of a measuring unit by comparing the indications provided by the unit with a known “measurement standard” (a physical object) used in the calibration procedure.
During the calibration, the measuring instrument is not subject to changes, as opposed to adjustment where a measuring unit is tuned or modified in order to minimize the measurement errors or to guarantee that the measurement errors do not exceed predetermined bounds. Verification in legal metrology, however, pertains to the examination and marking and/or issuing of a verification certificate for a measuring system. The examining authority thus verifies whether the measuring unit satisfies the corresponding legal prerequisites.
Unlike for legal verification, where the validity of a marking or certificate is defined by law, the validity of a calibration interval follows practical requirements such as manufacturer indications, requirements of the applied quality standards, or company internal and customer specific regulations.
Traceability and calibration hierarchy
In order for measurement results to be compared, they must be traced back to a national or international measurement standard To this purpose, the display of the measuring must be compared with the measurement standards in one or more stages. On each of these stages a calibration is carried out with a measurement standard, which has been previously calibrated with a higher-level measurement standard. According to the ranking of the measurement standard – from a working or company reference measurement standard to a national or international measurement standard –there is a calibration hierarchy to be respected by the organization performing the calibration. This stretches from the in-house laboratory through accredited laboratories up to the national metrological institute.
Correct Calibrations
Different standards, regulations and directive must be respected when carrying out calibrations. A measurement unit must satisfy basic requirements before it can be calibrated. One must also know and consider the physical conditions under which a calibration is carried out.
Regulations are essentially applicable when a company decides to respect a standard or directive or when it delivers products that are subject to legal requirements (like in the medical or transportation markets)
Standards for Quality Control – Statutory Regulations
Standards and directives, such as the ISO 9000 series, are becoming increasingly important for quality assurance in all industrial nations. This standard explicitly requires, among other things, to calibrate all test equipment that directly or indirectly influences the quality of the product. This includes, for example, test equipment that is used as reference measurement standard during the production process.
Zumbach Electronic AG adheres to different directives and standards. The regulations of the FDA (American Food and Drug Administration), for example, are important worldwide with respect to international trading relations. The CFR (Code of Federal Regulation) requires « the calibration of instruments, apparatus, gauges, and recording devices at suitable intervals in accordance with an established written program containing specific directions, schedules, limits for accuracy and precision, and provisions for remedial action in the event accuracy and/or precision limits are not met». European legislation has similar requirements.
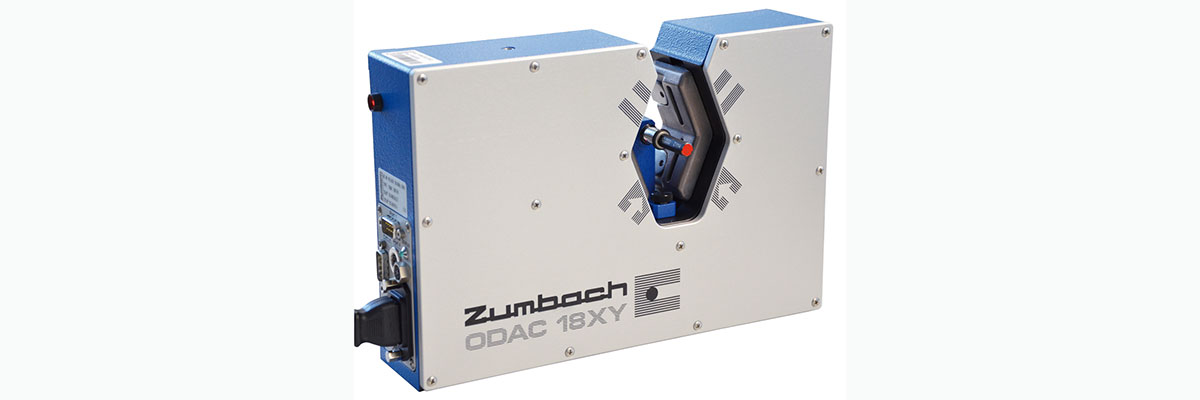
Example of a Zumbach measuring unit:
Calibration and self-compensation functions of ODAC® Measuring Heads
Our measuring units are calibrated using reference and also working measurement standards which are certified by the federal office for metrology (www.metas.ch) or by accredited laboratories. Each unit is supplied with a detailed calibration protocol.
A regular check for measuring errors along with the corresponding protocol can be carried out according to the customer requirements. The regularity of these calibrations depends on the customer specific requirements (internal regulations). We recommend a verification of the measurement error every 12 to 24 months.
All the measuring heads of the ODAC® series have a self-compensation function (Patent DE3111356), which makes a regular calibration superfluous, except when components had to be replaced.
All the relevant parameters for accuracy are continuously monitored by the measuring electronics and automatically compensated. This is particularly important for counteracting possible ageing effects of the scanner motor or possible long-term drifts of the measuring electronics.
